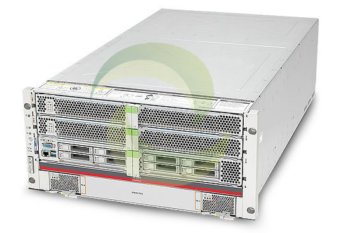
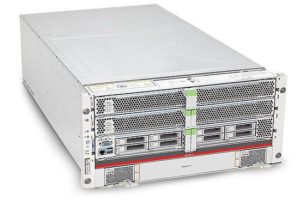
Buying and Installing Sun Oracle Servers
When people hear of “used” servers they generally think that these servers will be second-hand and thus not quite up to standard. However, refurbished servers are very different from used servers. If you buy these servers from a reputable dealer, you will notice that refurbished servers are certified and have a “like-new” quality to them. This is because these servers are cleaned out, upgraded, and tested for performance and speed before being sent out in the market a second time.
Why you should consider Refurbished Oracle and Sun Servers
Oracle’s servers, including SPARC servers, are available as refurbished equipment at a price much lower than the brand new equipment.
Moreover, if you have a have a small or medium sized business, one of the factors that concern you most is budget, and buying brand new servers can be a highly expensive venture. In contrast, you will find refurbished servers at highly discounted prices, and you might even be able to have them tailored to meet your business requirements and specifications.
In fact, you won’t even notice that there is a difference between the new and the refurbished servers. Sun Oracle refurbished servers are also referred to as “Remanufactured servers” as they undergo a rigorous test process before they are ready to be shipped out again. Thus, if you want Oracle/sun servers at low cost or at a discount price while not compromising on performance and quality, you should consider refurbished servers.
How to install refurbished servers
Refurbished Oracle servers will work just as any other new server and as such, their installation process is the same.
For example, if you are looking to install Oracle VM servers (x86) these are the steps to be followed:
- For installing this software, you need a very small footprint on a hard drive.
- After downloading the oracle VM server software, you need to burn it on your hard drive. After this is done, insert this hard drive into your physical server that you are going to use for your environment.
- Switch the server on, and remember to select DVD/CD as your boot device. Then press Enter.
- You can skip the DVD check which generally shows up next and go directly to keyboard layout where you can select the default layout.
- Accept the license to proceed. If you see a pop-up next asking you to erase all data on your drive, be sure to click yes. After this, select the disks again in the next pop-up by clicking on yes once more.
- After you choose your disk, it will ask you permission to remove any partitions present in the disk. Once you click on yes, it will ask you “Review and modify partitioning layout?” This is not needed, so you can click on “no”. Select the “Master Boot Loader” in “Boot Loader configuration” and click “OK”
- Now you will need to enter some values in the consecutive pop-ups. This includes the interface, IP address, and subnet mask for your server. If you are using multiple servers and all the servers are in the same network, you don’t need to provide a gateway.
- After you enter your hostname, specify your time zone, and give your passwords, the installation will start.
- Now after installation, reboot the node, then remove the hard drive and let the system boot again. Now you can view the console.
Steps for installing all types of Sun or Oracle servers are almost same. Oracle servers will always deliver high performance quality, no matter if they are new or refurbished servers. Contact Greentec Systems today for a quote on certified refurbished Sun Oracle servers and find out how much you can save!
Note; although we strive to ensure all information listed here is accurate. We cannot guarantee the precision of all the information and request you validate all information directly with Sun Oracle. If you have any further questions, would like technical assistance or would like discount pricing on any new, used or refurbished Netapp storage equipment, please contact us. A helpful Greentec Geek is more than happy to assist!


